
Motorcycle Assembly Lines are suitable to Assemble/Produce 2 wheel Motorcycles, 2 wheel Scooters, 2 wheel Electric-cycles, 2 wheel E-Bikes, Bicycles, Bikes, and so on. (Sometimes, suitable for the production of Tricycles.)

How to Provide a Motorcycle Assembly Line for a Client
Phase 1: In-Depth Consultation and Needs Analysis (The Foundation)
This is the most critical step, determining the direction of all subsequent work.
- Define Client Objectives:
- Product Positioning: Is the client producing high-performance motorcycles, standard commuter bikes, electric motorcycles, or special vehicles?
- Production Plan (Capacity): What is the annual output? What is the shift pattern (single/double shift)? What is the required cycle time (i.e., the time for each vehicle to roll off the line)?
- Level of Automation: Does the client want a fully automatic, semi-automatic, or primarily manual assembly line? What is the budget range?
- Process Scope: Is it only final assembly, or does it include sub-assembly processes like engine build-up, frame welding, and painting?
- Future Planning: Are there plans for platform-based vehicle design, mixed-model production, future expansion, or technological upgrades?
- Analyze Product Data:
- Obtain the Bill of Materials (BOM), 3D models, and 2D drawings for all planned motorcycle models.
- Analyze part dimensions, weight, assembly sequence, and special requirements (e.g., fluid filling, precision tightening).
Phase 2: Solution Design and Planning (Core Design Phase)
(Select configurations based on your needs—some equipment are optional. Feel free to contact us for further details)
Based on the needs analysis, provide a detailed solution.
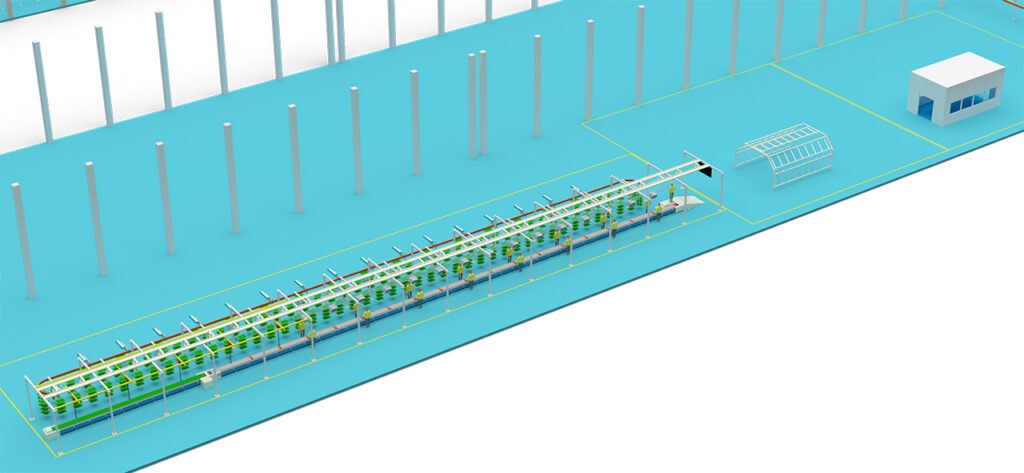
- Process Design:
- Break down the motorcycle’s final assembly into individual stations, such as frame lifting, engine installation, front/rear wheel installation, wiring harness routing, fuel tank installation, handlebar installation, fluid filling, cosmetic parts installation, and final inspection/testing.
- Define the tasks, standard time, and required tools and equipment for each station.
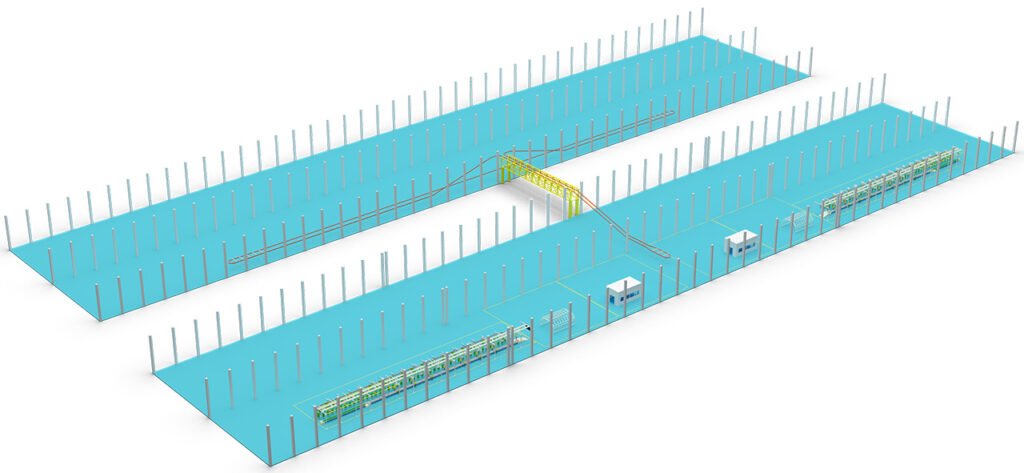
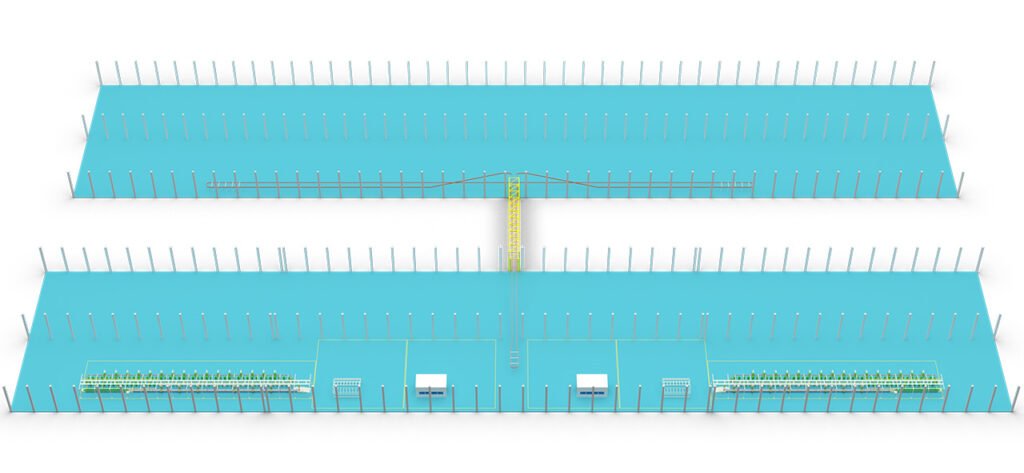
- Production Line Layout Planning:
- Use CAD or 3D design software to plan the entire workshop layout.
- Determine the Assembly Line type:
- Slat Conveyor Type Motorcycle Assembly Line (Click here or contact us for more information)
- RGV (Robotic Guided Vehicle) Type Motorcycle Assembly Line (Click here or contact us for more information)
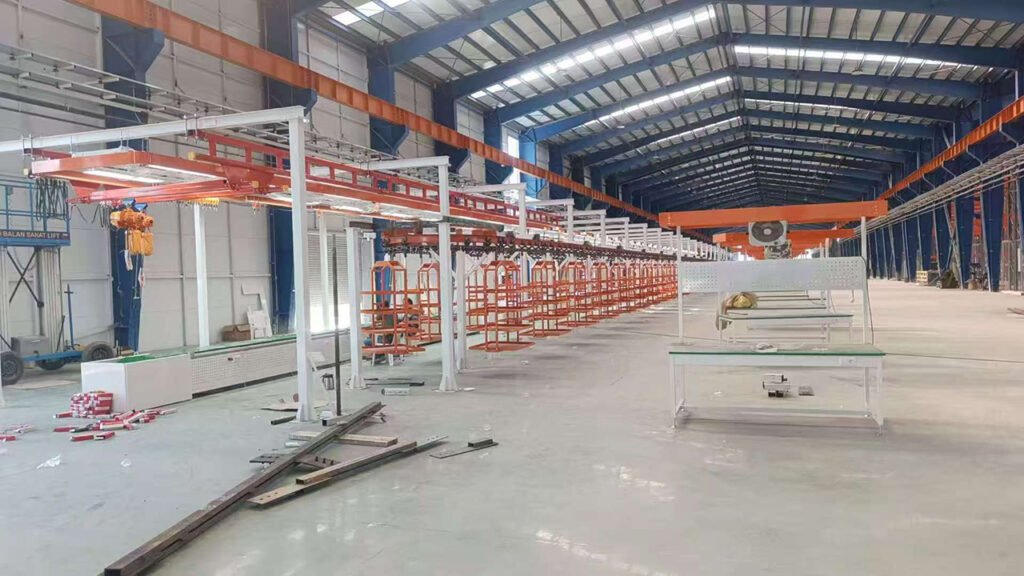
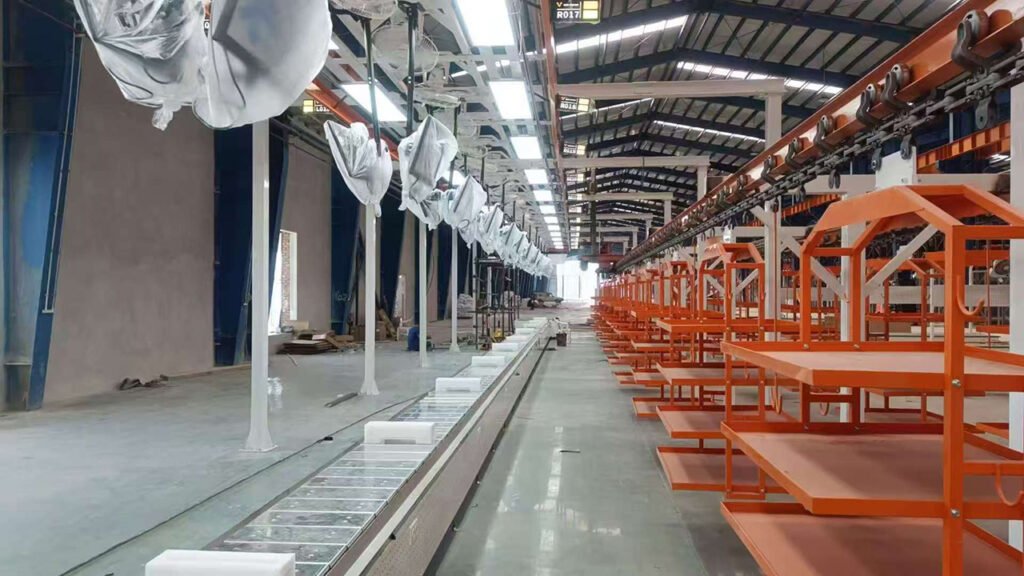
- Overhead Conveyor Type Motorcycle Assembly Line (Click here or contact us for more information)
- or welcome to contact us to get other solutions what you need
- Properly plan areas for material distribution, line-side supermarkets, quality inspection, and rework.
- Automation and Equipment Selection:
- Conveyor Systems: Select the appropriate type of conveyor line and power system.
- Automation Equipment (optional): Recommend and design equipment such as:
- Automatic Torque Guns: For applying precise torque to critical bolts (e.g., wheels, engine mounts).
- Automatic Filling Machines: For accurate filling of engine oil, brake fluid, coolant.
- Robotic Applications: Such as robotic gluing, robotic wheel mounting, robotic material handling.
- Tools and Fixtures: Specify required electric/pneumatic tools, dedicated assembly jigs, and lifting apparatus.
- Information System Integration (MES – Manufacturing Execution System): (optional)
- Andon System: Enables real-time call for help and response to production anomalies.
- Material Call System: Ensures timely delivery of materials to the line-side.
- Torque Monitoring System: Records and traces the tightening data of every critical bolt.
- Production Dashboard: Displays real-time production progress, efficiency, and quality status.
- Vehicle Traceability System: Links all production and quality data via the VIN, enabling full lifecycle traceability.
Phase 3: Design and Manufacturing (Implementation Phase)
- Mechanical/Electrical/Software Design:
- Complete manufacturing drawings for all non-standard equipment, components and fixtures.
- Finalize electrical schematics, programming.
- Develop the MES system and related software interfaces and functions.
- Procurement and Manufacturing:
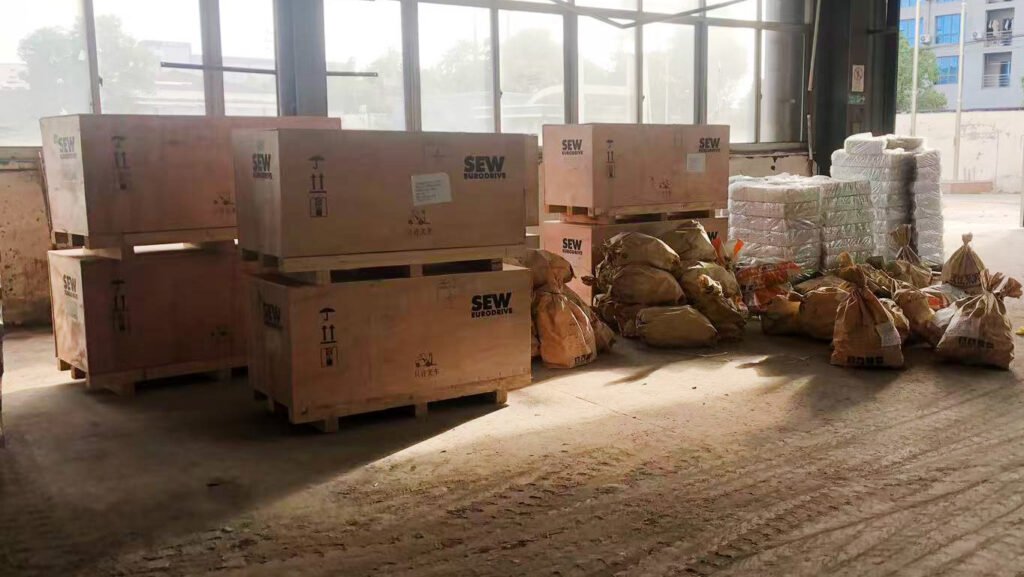
- Procure the purchased components (gear motors, sensors, PLCs, inverters, robots, etc.).
- Process and manufacture non-standard structural parts in-house.
Phase 4: Installation and Commissioning
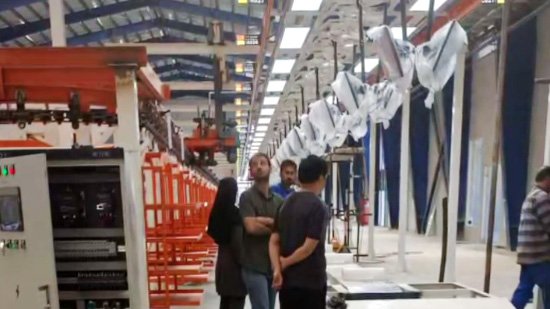
- On-Site Installation: Dispatch engineers to the client’s factory for the Installation and commissioning, clients need to support.
- System Integration and Debugging: Integrate and test the mechanical, electrical, robotic, and software systems together, first without and then with load.
Phase 5: After-Sales Support and Continuous Optimization (Service Phase)
- Provide long-term spare parts support, technical consultation, and maintenance services.
- Offer production line optimization and upgrade services based on the client’s operational experience.
How to set up a Motorcycle Assembly Line factory?
Looking for VIN marking machines? Contact us for more information.
Need Filling Machines? Get expert support—request a quote or let’s talk about your project.
Looking for air compressors? Contact us for more information.
Need assembly tools or other auxiliary equipment? Contact us for more information.
Looking for Motorcycle components? Contact us for more information.