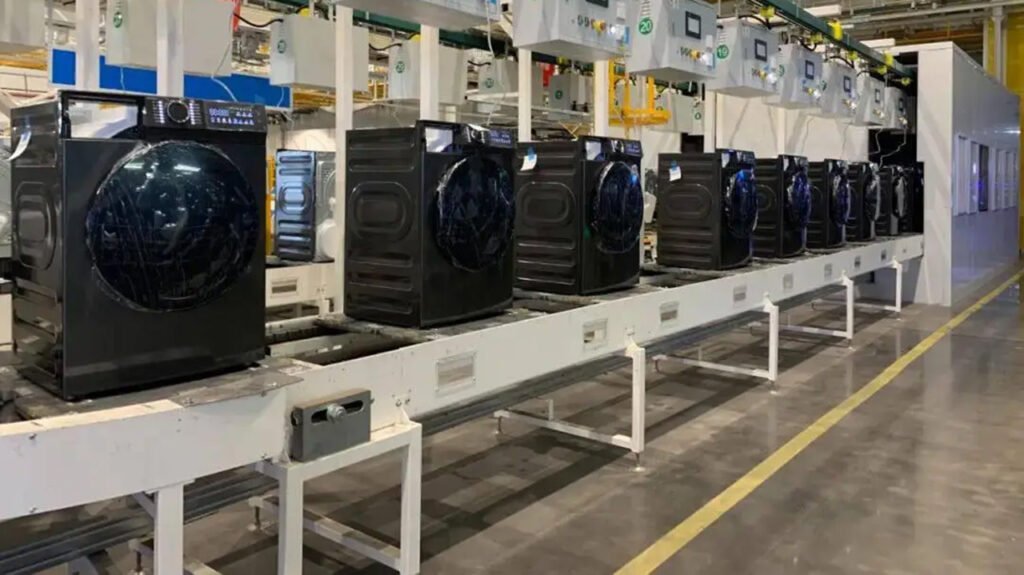
Front-Loading Washing Machine Assembly Line—How to set a Front-Loading Washing Machine Assembly Line?
The more complex structure and higher technical requirements of front-loading washers mean their assembly lines represent an advanced level.
1. Core Process Flow of a Front-Loading Washer Assembly Line
The assembly of front-loading washing machines follows the principles of “chassis module first” and “horizontal integration,” featuring strong logical sequencing and high demands for precision.
Main Process Flow:
- Chassis Module Pre-assembly (Core Starting Point)
- This is the foundation of front-loader assembly. On a high-precision pallet or fixture, the following are installed in sequence:
- Suspension System: Two or four high-strength shock absorbers are precisely fixed to the chassis frame.
- Outer Tub (Water Container): The plastic outer tub is mounted onto the shock absorbers.
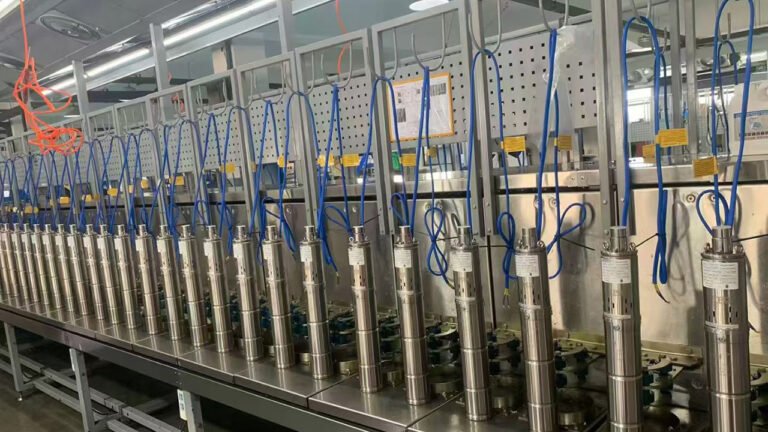
- Drive Assembly: A three-phase inverter synchronous motor or DD direct-drive motor, assembled with the bearing housing and drive belt (for non-direct-drive models), is installed onto the rear of the outer tub. This is the power core; assembly precision directly affects noise and lifespan.
- Once complete, the entire chassis module enters the main line as a robust, integrated unit.
- This is the foundation of front-loader assembly. On a high-precision pallet or fixture, the following are installed in sequence:
- Cabinet Preparation and Start of Final Assembly
- The painted cabinet is introduced to the line.
- Components like the rear panel, drain pump with its connectors, and casters/feet are installed.
- Inner Drum Assembly and Drum Integration
- On a separate sub-line, the stainless steel inner drum is assembled with the balance ring (critical for dynamic balance during high-speed spin).
- The assembled inner drum unit is then horizontally inserted into the outer tub (which already contains the motor) using precise guiding devices and connected/fixed to the main shaft. This step requires high-precision alignment.
- Cabinet and Chassis Marriage
- This is a signature step. The complete chassis module (with inner/outer drums and motor) is pushed horizontally or lifted by equipment/robots into the cabinet.
- The front of the chassis is bolted to the cabinet front panel, forming a rigid main structure.
- Counterweight Installation
- The top concrete counterweight and bottom counterweight (on some models) are installed. These suppress unbalanced forces during high-speed spin.
- This involves handling the heaviest components in the entire process. It is typically done using assist arms or robots, with high-precision servo screwdrivers used for fastening. Torque data must be recorded and traced.
- Front System Integration
- Install Door Seal (Bellows Gasket): The seal is fitted over the front opening of the outer tub. This is key for leak prevention and usually requires special jigs and a small amount of lubricant.
- Install Front Door Assembly: Includes the glass door, hinges, and the electromagnetic door lock (a safety device).
- Install Control Panel and PCB: The display/operational panel is mounted to the front of the cabinet.
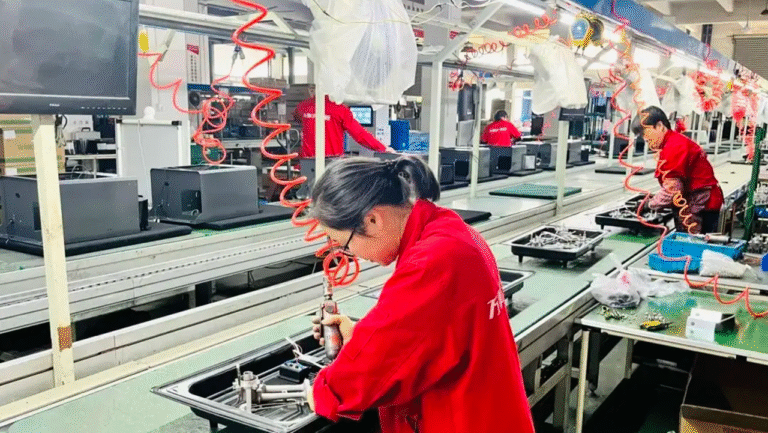
- Plumbing and Electrical System Integration
- Install the heating element (located at the bottom of the outer tub for hot wash), temperature sensor, and water level sensor.
- Install the water inlet system and dispenser drawer (for detergent, softener).
- Connect all wiring harnesses (motor, heater, sensors, door lock, drain pump, PCB, etc.).
- Final Testing and Calibration
- Leak Test: A pneumatic pressure test is performed on the water inlet and drainage systems to check for leaks, especially at the door seal.
- Functional Test: Conducted on a comprehensive test bench simulating a full wash cycle. This is the most critical inspection phase, including:
- Water inlet and drainage functions.
- Heating temperature and time control.
- High-Speed Spin Test: Spinning up to maximum RPM (e.g., 1400 rpm) to check if vibration and noise are within strict standards. This is the ultimate test of a front-loader’s quality.
- Operation of all preset programs.
- Safety Tests: Grounding, insulation, leakage current tests, and verification of door lock safety interlock (door cannot be opened during operation).
- Final Inspection and Cleaning: Visual check and machine cleaning.
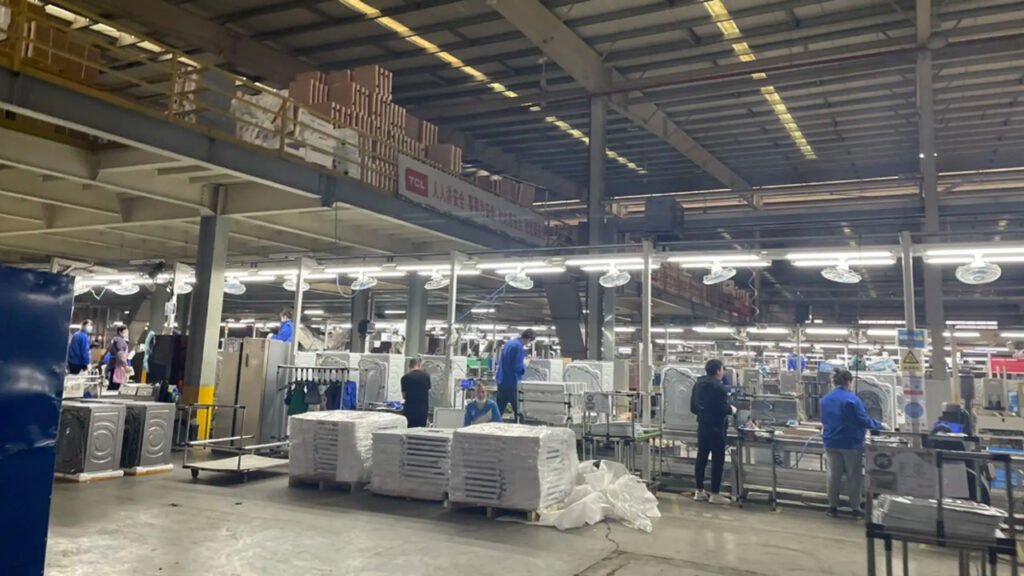
- Packing
- Install shipping bolts/rods (Mandatory! Used to secure the inner drum during transport to prevent impact damage).
- Place accessories inside. Use foam cushions to protect the cabinet and door glass from all sides before cartoning and sealing.
2. Key Technologies and Automation Applications on the Assembly Line
- High-Precision Positioning and Assembly: Processes like drum insertion and chassis-cabinet marriage widely use vision guidance and precision positioning fixtures to ensure millimeter-level assembly accuracy.
- Critical Torque Control: Screws for counterweights, motor mounts, and suspension systems must be tightened using servo-electric screwdrivers with torque and angle monitoring. Data is uploaded to the MES system for 100% traceability.
- Widespread Use of Robotics:
- Robots for automatic glue application (door seal, pipe joint sealing).
- Robots to handle and install heavy counterweights.
- Robots for cabinet handling and chassis marriage.
- Robots for final carton packing and palletizing.
- Intelligent Testing Systems: Integrated test benches combine water, electrical, and pneumatic circuits to automatically execute test scripts, determine results, and link detailed data (vibration spectra, temperature curves) to the product serial number for big-data quality analysis.
Summary
The front-loading washing machine assembly line embodies the integration of precision mechanical assembly, mechatronics integration, and intelligent testing/control technology. It is not merely an assembly line but a systematic engineering project that guarantees high-end product quality and reliability.